One of the main things that sound engineers do throughout their day is metering — checking that the audio levels are reaching every piece of equipment at its optimal values. In other words: gain staging. We have talked about the importance of gain staging in previous articles and how VU metres can help you set the right levels for recording and mixing. To help you further understand how to read these metres and how they differ from your standard DAW peak metres, let’s first journey back in time.
The Origin
The original VU metre is a passive electromechanical device that reacts to the electrical signal passing through it. It was designed in the 1940’s by experts from CBS, NBC, and the Bell Telephone Laboratories. It was soon standardised in telephone installation and radio broadcast stations to provide readings of the magnitude of the waves encountered in the electrical signal. One of its characteristics is its relatively slow response to the signal’s amplitude, which is caused by the mass of the needle and reflects the perceived loudness of the audio. That is why the VU metre can not show peak values just like the dBFS metre does. Instead the peak value should be inferred to be between 6 dB and 10 dB higher than the reading given by the needle.
When engineers use VU metres to set levels, they aim for the needle to hit around 0 VU. That’s because this value is calibrated to be the professional line level standard of +4 dBu, which ensures an optimal signal-to-noise ratio throughout the whole recording chain.
So how can we use these metres in the 21st century and how can they benefit your recordings and mixing in modern DAWS? Let’s have a look!
Digital VU Metres
Since the behaviour of VU metres were standardised and described in detail, modern technology was able to create digital emulations of them. The only difference is the calibration level the software uses.
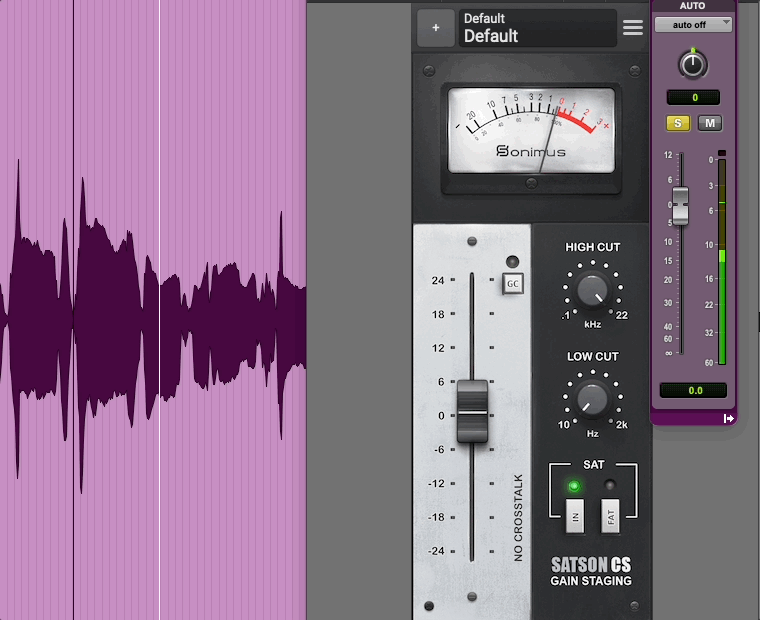
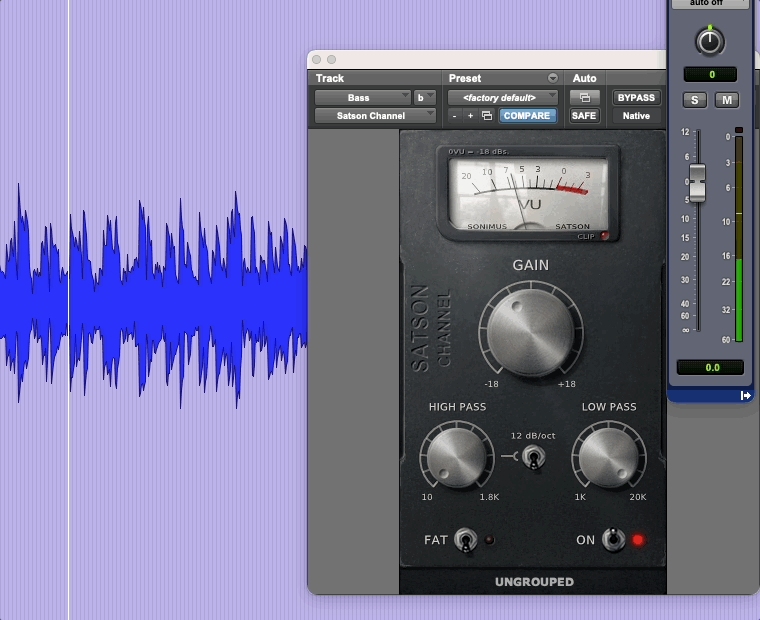
Instead of using an electrical value like +4 dBu (1.227 volts), these digital versions, like the ones found on Britson or Satson, can be set to different dBFS values depending on our workflow or desired headroom. A common value for this calibration is -18 dBFS, since most hardware and plugin manufacturers match this value with the +4 dBu signal from the analog signal. But as long as the metres are read correctly this calibration value can be set to fit any workflow or setup.
Using this kind of metre in modern DAWs allows for setting the levels of your tracks before mixing, providing enough headroom and ensuring that all the plug-ins in the chain receive a consistent and optimal level to operate with.
Reading The Metres
We already mentioned that engineers will aim for the needle to move around 0 VU, but they also take into consideration the audio material that they would be working with in order to set levels correctly. This is because the behaviour of the needle won’t be the same against a drum beat or an electric guitar, which changes the meaning of “aiming to 0 VU” on each individual case.
For example, in transient heavy material like drums we would expect the needle to stay below 0 on our VU and go down on every hit. Since the waveform goes up and down in volume very quickly, the needle can reach the actual value and it will stay around -5 VU. This ensures that the peak level of the source will be between -10 and -6 dBFS, leaving plenty of headroom for mixing. On the other hand, for less dynamic material the needle would be expected to be waving around 0 VU with no drastic drops or jumps. Keeping these differences in mind while setting levels with the VU metre makes it easier to balance every element within the context of the mix.
Sonimus Console Emulations
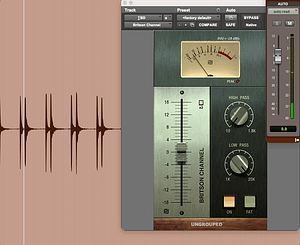
Plug-ins like Britson or Satson make it super easy to set the perfect gain stage for your tracks using their VU metres while benefiting from the sound of some of the most iconic consoles in history. Add the channel instances as your first plug-in in the chain. Use the gain controls of your channels while looking at the VU metre and find the sweet spot for your audio material. Once the levels are set correctly move on to your regular mixing process.
Users can not only choose different calibration values for their channels and buses but also change the way the plug-in behaves and drive the signal into the red area of the metres to take advantage of the musical saturation of the different consoles. Just engage the ‘gain compensation’ feature on your channel instances and you can use the plug-in as if you were driving the preamp of a real analog console without worrying about clipping in your DAW.
Did you know how to read your VU metres? Do you use them for gain staging? Let us know in the comments and subscribe to our newsletter to get mixing tips and learn more about Sonimus products.


Leave A Comment
You must be logged in to post a comment.