Podcasting has been around for a long time, but in the past couple of years, we have seen it grow exponentially. Just like blogs did during the first decade of the 2000s, followed by Vlogs and Youtubers, Podcasts have taken over as an easy way to communicate and reach people all around the world without the need of a screen in front of them.
The great thing about podcasts is that nowadays all you need is an interesting topic to talk about and a computer to get started. Let’s go through the 5 things that will help you set up a great-sounding podcast in no time.
1- What’s Your Podcast About?
When we decide to record a podcast, it is quite easy to jump straight into the technical stuff. But in reality, the first thing we need to tackle is: what do we want to talk about? Is it going to be a one-person show or a group conversation? Perhaps interviews, or are we telling a story? Whatever it is that we want to do it, is very important to have a clear idea of what our podcast is about right before we press the record button. This way we will be able to do a pre-production assessment: decide what kind of equipment and software will be used, the location where we will be recording, and how much time it would take us.
2- Online or Local
Traditionally you would need a computer with a voice recording software and some recording equipment to start creating your podcast, but now there are also plenty of online platforms that offer all-in-one solutions for your podcasting adventure.
If you decide to do it on your own you would need a computer, tablet, or even a phone to record your voice. Computers tend to offer more control over audio production but using a tablet or a phone can be very handy if you are recording on the move. There are several softwares available for every platform that would allow you to record one track of audio or even multitrack if you are recording with several microphones. Audacity, Garage Band, Reaper, or even your Voice Memo app can be some good free options to get started. You can also opt for getting a hand recorder like the Zoom H4nPro or Tascam DR40x to get microphone and recording gear all in one place.
If on the other hand you prefer to go for the online option i, websites like Zencastr, Cast, Spreaker or Ringr are podcast focused platforms that allow you not only record audio with your computer, but also record the audio from remote guests and even help you with the distribution. Then, once you finish recording your tracks you can download your files, all in sync and with the best quality possible to continue editing and doing any post-production needed. You can find free and paid plans from most of them and they can be very helpful to get your podcast up and running very fast.
3- What Microphone Should I Use?
Quick answer: Any at your disposal.
You would be surprised how good the built-in microphone from your phone or your headset can be, especially for recording voices. The location or acoustic treatment of your room can be even more important than the microphone itself (more on that later), but if you have some money to spend you don’t need to break the bank to get some good quality audio.
You can find plenty of USB connected microphones to improve your audio quality without having to go down the route of buying an audio interface. They are easy to set up and easy to use.
Lots of websites and videos recommend using condenser type of microphones to record your podcast since they provide a good and detailed sound. But the truth is that unless you have a fairly well treated recording space this kind of microphones can give you more trouble than benefits down the line. Instead you should look at what radio broadcasts use. Normally you will find a regular or large diaphragm dynamic microphone in front of each speaker. This kind of microphones might need more gain than a condenser to get the same volume out of them, but because of the way they are built they are more forgivable for less-treated and more noisy environments. You would also get a more prominent proximity effect that everyone loves from broadcasting voices.
4- Where To Record
It’s always nice to have a quiet room to record your podcast. Noise is a good variable to take into account when assessing your recording location, but there are other considerations to pay attention to. One is the size of the room and the other is how full it is. These will determine how reverberant and how much treatment your room might need. The main idea is trying to avoid empty rooms with hard surfaces where the sound would be free to bounce around. Busy medium sized rooms with shelfs full of books and carpets are normally good choices for location. Coworking spaces with acoustic treated meeting rooms can also be a good option to record interviews..
If there is no way to avoid it and you still find yourself in a quite reverberant and noisy space, fear not. Believe it or not, creating a tent around you with a duvet is a very cost effective way to get a more focused and clean audio for your podcast.
5- Editing and Post Production
Once you have finished recording it’s time to get your episode ready. For that you would probably need to edit your audio: trimming the beginning and the end of the file to get a clean start and ending (also known as Top & Tail), removing any wrong phrases, long silences, or even reorganizing the parts of the episode to have a different order from how it was recorded. All these can be achieved by taking your audio into a Digital Audio Workstation (DAW) which will allow you to do all of these processes and more in an easy and intuitive way. You will even be able to add some original or royalty free music at specific points of your episode. All done in a non-destructive way, where you can always undo and go back to the original file.
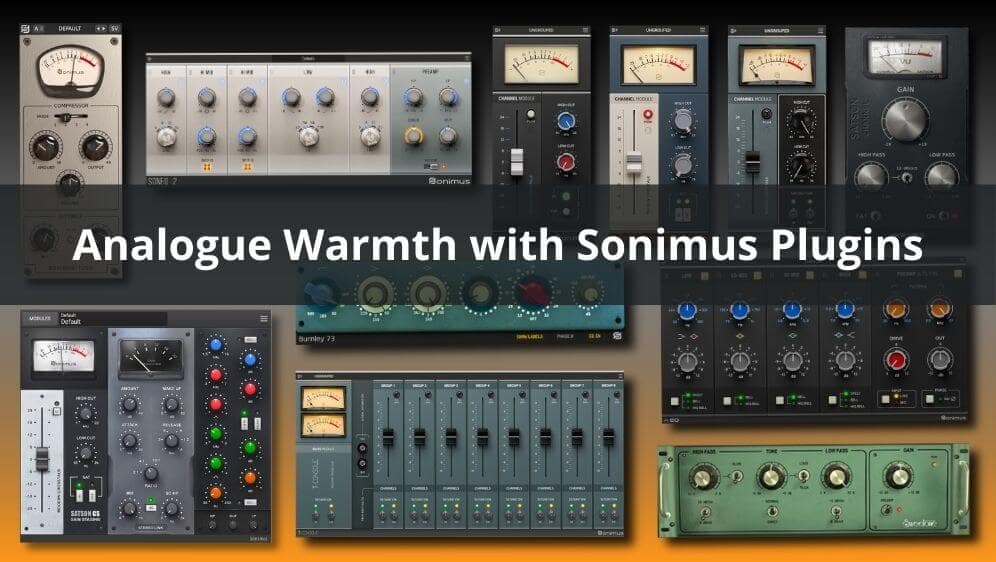
After editing, why not process your recording to get the most out of it? EQ and compression are key to get that characteristic broadcasting voice tone and remove any unwanted noise or frequency ring. Burnley 73 is a great EQ option to get a nice and clear voice-over. Plus with its gain knob you can get more presence and warmth out of the recording. Channel strips plugins are also a great option for processing your audio, they are a very efficient way to work by having everything that you might need in just one place. Satson CS, with its modular workflow, is a really good option to get the best tone for your voice. Combine the versatility from StonEQ and the glue from the Compressor module to clean, focus and shape the sound of the show. Watch Paul M Diaz’s video sharing how he approaches this process.
Now that you have the episode ready it is time to share it with the world. As mentioned before, some platforms can help you to publish it in every online platform, but a quick and easy way to get you started might just be to upload it to Soundcloud and share the link through your network, social media or publish it in your blog or website. In the end the most important thing is reaching out to the largest audience possible to share your ideas.


Leave A Comment
You must be logged in to post a comment.