

Sonimus console emulation range of plugins allows you to turn your computer into a large format console, getting all the sound, character and workflow from classic analogue console straight into your DAW regardless of your track count.
One of the great features of Sonimus’ products is their low CPU consumption. This means that no matter how large your DAW session is, or what computer you are using, you can add one instance of your favorite console on every channel, without affecting the performance of the computer or taking you out of your creative flow.
However, if you use a lot of virtual instruments and effects in your sessions, you might find yourself needing to freeze or commit tracks in order to finish producing or mixing your music. But what’s the difference between freezing and committing? When should I use one or the other? And most importantly, how should I work with my console emulation plugins in order to preserve their character and workflow? In this article, we will give you strategies that will help you use Sonimus’ console emulations in these situations and still get all their color and control. But first let’s clarify a couple of terms.
Freezing and Committing
You might have heard these two terms before, but never really understood what they are or when to use them. Freezing and committing tracks are two very similar processes. In short, they either temporarily or permanently print the plugins in your channel chain into the audio track.
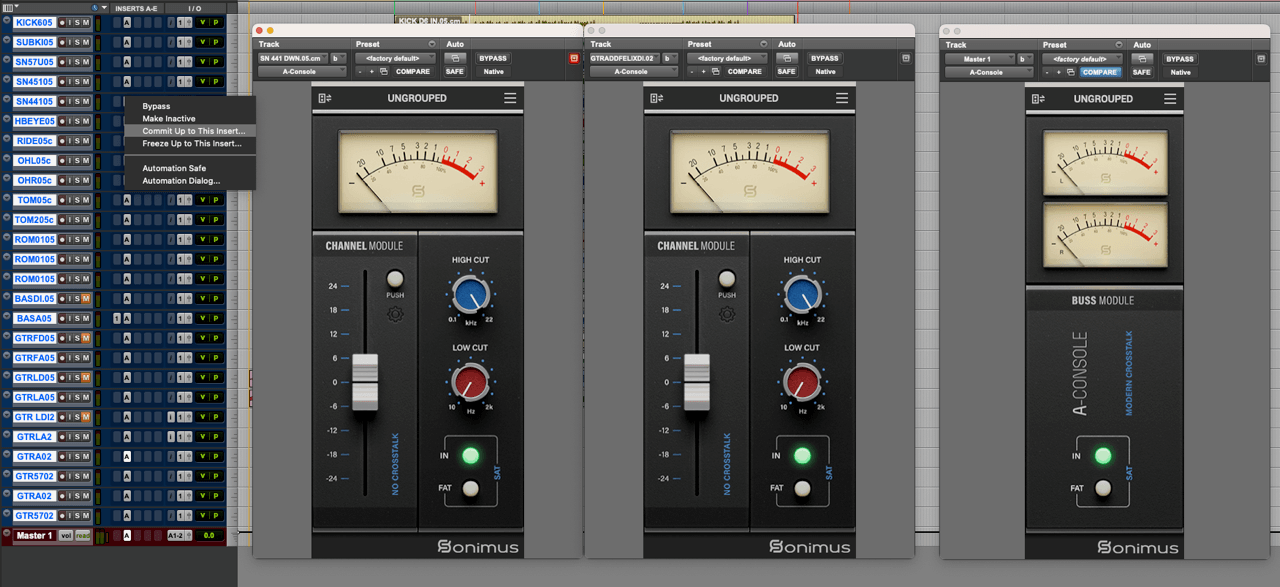
In the case of freezing, the DAW processes the audio in the track with its plugin chain in order, up to the selected plugin you want to freeze. Once the process is done, you can only process the audio further and change the volume, pan and sends from that channel. Anything else up in the chain, like clip gain or editing the track, gets blocked by the freezing process.
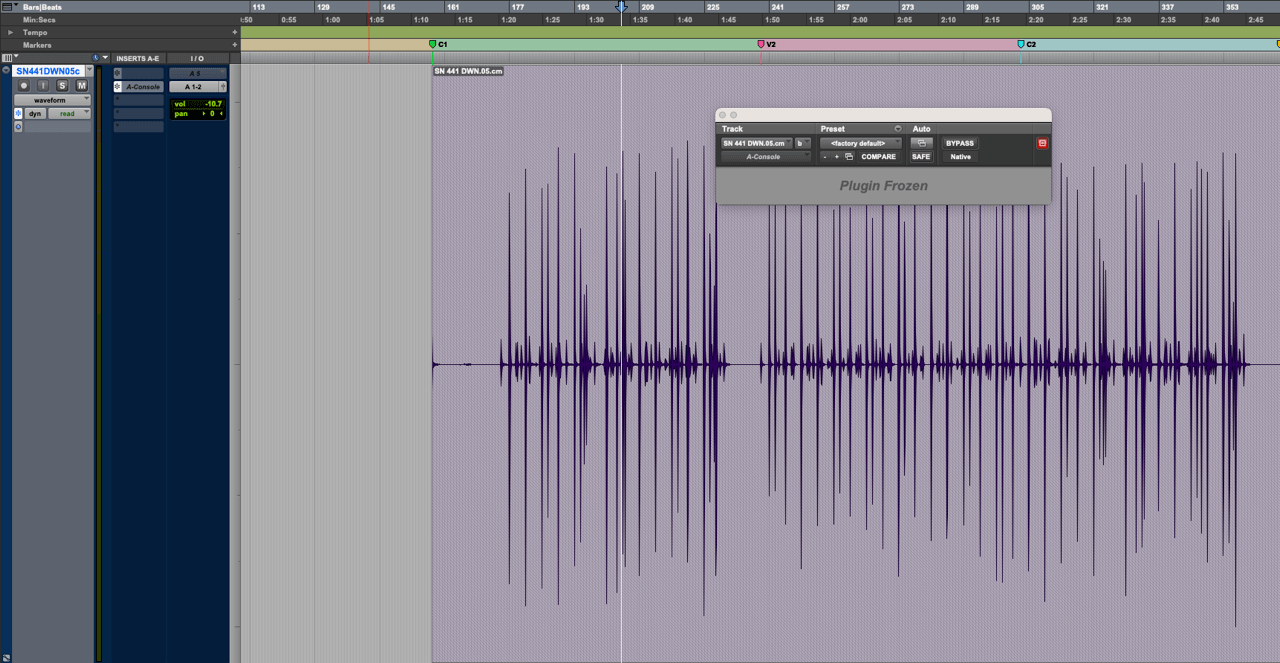
On the other hand, committing tracks creates a new audio clip that has been processed up to the selected plugin. The resulting track can be processed further, just like when freezing, but you can also edit the clip if needed.
The main difference is that a frozen track retains the chain and plugin configuration of the channel in case you want to go back to it, while the committed track is a completely new track with the previous processing printed in the audio.
When to freeze or commit your tracks?
These two processes help free up computer resources for mixing or share sessions with collaborators and engineers who might not have the same plugins or virtual instruments as you. But depending on the scenario, one option may be better than the other.
If you are working by yourself and just need to free up some CPU power, then freezing tracks is a good option. It lets you run more plugins in your session without hiccups. Just keep in mind that to make any changes or edits, you will need to unfreeze the track.
Alternatively, if you work with a mixing engineer or collaborate with other artists and you plan to send the session back and forth, then committing the tracks is a better option. It also helps to lock in a sound and move forward in the production process.
But it all depends on your workflow and what you feel comfortable with.
Working with Sonimus’ Console Emulations
Whether you freeze or commit your tracks, this is one way you could use Sonimus’ console emulations and save processing power.
First, add a channel plug-in on each track for gain staging, filtering and adding saturation to taste.
Then route those tracks into auxiliary tracks, like drums or backing vocals, and add the Buss plug-in to those Aux tracks.
Finally, route everything to your master track, where you’ll have your Buss plug-in with master grouping enabled.
Now, assign each of your buss plugins to a group, and select trim to buss on your master grouping faders.
This way you can commit (or freeze) your individual tracks, including the console emulation channel plugins, while retaining the console’s sound and keeping control of your mix with the master grouping and the buses.
Plus, thanks to Sonimus plugins’ low CPU usage, keeping the buses and master plugin running in your session uses very little of your computer’s processing power.
We hope this example helps you work more efficiently and manage your computer’s processing resources. Be sure to subscribe to our newsletter for more tips and recommendations on how to use and get the most out of your Sonimus plugins.








Leave A Comment
You must be logged in to post a comment.