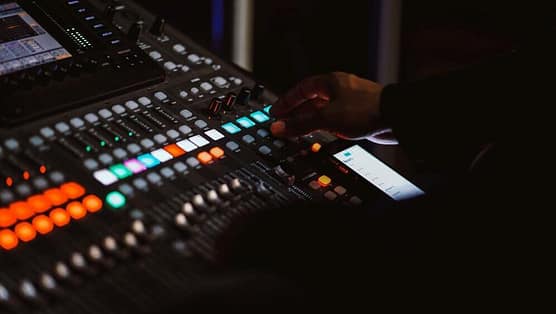
Nowadays, writing automation is a common technique thanks to modern digital audio recording and digital audio workstations (DAWs). Back in the day, any changes happening in a mix were done live by the engineer, and often with the help of an assistant or even members of the band to cover more ground on the mixing console. However, nothing was stored — any recall had to be done by hand. Every time a new revision came around, those movements needed to be replicated again. Each mix sounded different, a mix done one day might sound completely different the following day.
The first introduction of computers and automation in a mixing console happened in 1974 by the company API. They made the first computer-programmable console with automation of EQ, sends, pans and faders — they called it Total Recall. Later in 1979, the revolution came to the recording industry with the arrival of the SSL E series, where a computer and VCA automation into an inline mixing console allowed total parameter recall, level automation and even tape transport control. For the first time, one person could run a session right in front of the mixing console and return to a mix at any point, with the same settings as the first day of mixing.
All modern DAWs allow us to write automations. Thanks to digital audio and computer power, they let you come back to any session at any time, revise those automations, and undo and create new ones with the touch of the mouse. You can make those automations live or draw them directly on your screen while playing the song. Total control and customization for any track, plugin, or master mix. With all these possibilities available, it can feel overwhelming to start approaching this process in your mixes. That’s why we want to give you some recommendations on where to get started with automation.
Faders
A straightforward and practical thing to start using automation and adding movement to your song is writing the fader’s movements. Consider what instruments would benefit from changing their volume throughout the song and make those changes in the automation lanes. It can be as simple as listening to your static mix and making notes of which points you would reach out to change the volume of certain elements, and then writing that automation so they happen every time you play the song.
One instrument that always benefits from creating volume automation is the main vocal. An excellent technique to create them is riding the fader. It consists of writing the volume automation while playing the song. This makes a more natural automation that relates to how the singer performs and the energy of the music. Using the touch mode automation, you can ensure that your fader returns to the original position when you let it go, making it easier to stay consistent with your reference volume.
Panning
Widening or narrowing the stereo spectrum is a great way to create contrast between the song’s different sections. Changing the pan position of your elements in the mix is super effective for this purpose. Keeping guitars centred or narrow in the verses and opening them up in the choruses is a great example to help your mixes feel bigger and more expansive.
Mutes
Only some things need to be played all the time. That’s why automating mutes can also help create contrast and perhaps declutter some sections of the song. While it is true that a lot of the arrangement can nowadays be made in the arrangement window of your DAW, muting tracks and bringing them back at specific points can sound more natural and quicker to make than cutting and trimming clips. You can always get them back by overwriting the automation instead of looking for previous project versions.
Reverb Sends
Instead of keeping your send levels steady, try to play around with the reverb send levels of your tracks. Using this automation technique, you can change the perspective and sense of position of the different elements of your mix, creating a journey for the listener.
Feedback
Another classic technique in the automation world is feedback on your delays. If you are into reggae or dub, you know exactly what we are talking about. If your delay plugin has a feedback knob, try automating it to create a new dimension in your song. Just be careful not to overcook it.
LP Filters
Automating low-pass filters is widely used in electronic music and can generate excitement and a sense of overcoming. Just engage the automation in the filter section of your favourite EQ and experiment with it in a song section that needs some extra spice.
Drum Excitement
Finally, automating your drums is a good trick to add excitement to your song. Creating small (or big) volume spikes right before the choruses can develop a feeling of rush and energy. You can also create a parallel compression track for the drums and automate their volume to make them more dense during the choruses.
These are only a handful of automations that you can try in your songs, just keep in mind that only some things need to be automated. Consider what would help make your music more attractive and avoid anything that makes it less focused. The more you try automation, the more ideas you will have and the more effective it will be.
If you enjoyed this article and want to learn more about mixing, subscribe to our newsletter or follow us on social media to get the latest news about Sonimus products.


Leave A Comment
You must be logged in to post a comment.