Do you apply any processing on your reverb channels? Do you EQ before or after the effect? Should compression be used? These are commonly asked questions for when you’ve found the perfect reverb for your song, but you’re struggling to set the right level for it. They are also important considerations for when your session grows and you want to create space for the most important elements of your track. So how can we keep our songs spacious and airy without making them fuzzy and unclear? Let’s look at 4 techniques you can use to get your effects working all the time.
Sculpting Reverb
The easiest way to create space within your reverb effects is by using EQ. It’s quite common to find some basic EQ setting built in within the reverb effects, like high-pass or low-pass filters. Although these features are handy, it’s always recommended to have an EQ plug-in following up the effect in order to have more control over it. The reason behind adding the EQ after the effect is to shape the resulting processed signal, since it’s likely that the sources sent to your reverbs would be processed already on their own channels. Applying a high-pass filter is always helpful when getting started, but to make sure the reverb effect leaves room for the main elements of the song,some extra frequencies should be carved out. Most of the time vocals are the main player in a mix, since they carry the message of the song. Equalising the reverb channel with an opposite curve to our main vocal EQ will help to make it more present, without losing the desired effect. Cutting 4 dB at 2 kHz with a wide Q value should be a good starting point to shape your reverbs. Add a light low-pass filter around 10 kHz to the equation and you will get the classic Abbey Road EQ setting.
To Compress or Not to Compress?
Contrary to popular belief, compression makes things quieter. It reduces the dynamic range of a source by bringing down the level of the loudest parts. This makes it easier to place elements within the context of the mix, but it also results in an increased awareness of the quieter sounds. Taking this into consideration and looking at an overall view on our song, we need to decide whether compressing our reverb effect will help to achieve the sound that we are after. In many cases compression may not be required, but if you want to give your reverb more presence in the mix, some light tape compression settings might help to keep it under control and at a consistent level throughout the track. Lowering the threshold of your compressor with a 2:1 ratio, slow attack and medium release will give good results, but we encourage experimenting until you find the right settings for your track.
Release the Tail
If you love having beautiful reverb tails at the end of your vocal phrases or guitar solos, but you find it difficult to get the levels of the effect right, even with automation, this one’s for you. Applying side-chain compression to your reverb channel can make it super easy to get a lingering reverb tail, whilst keeping its volume under control when other sources are playing. Just create a send from the channel that you want to use as a side-chain and route it to your compressor in your reverb track. Then, set the side-chain detection in your compressor and dial the settings to get the desired gain reduction in your reverb. With a medium to fast release you would be able to get the reverb back at its original volume right at the end of the phrases. Perfect for a classic and musical reverb or delay tails.
Mid & Sides
Processing your reverb in Middle and Sides can be very helpful in keeping the main element of a song clear. By carving the mids in the middle track and pushing the high frequencies on the sides, you can make sure that your centred information is not blurry and still retain all the air and space in your track. You can read about how to get your Mid/Side processing working in our previous blog.
Processing with Sonimus Tools
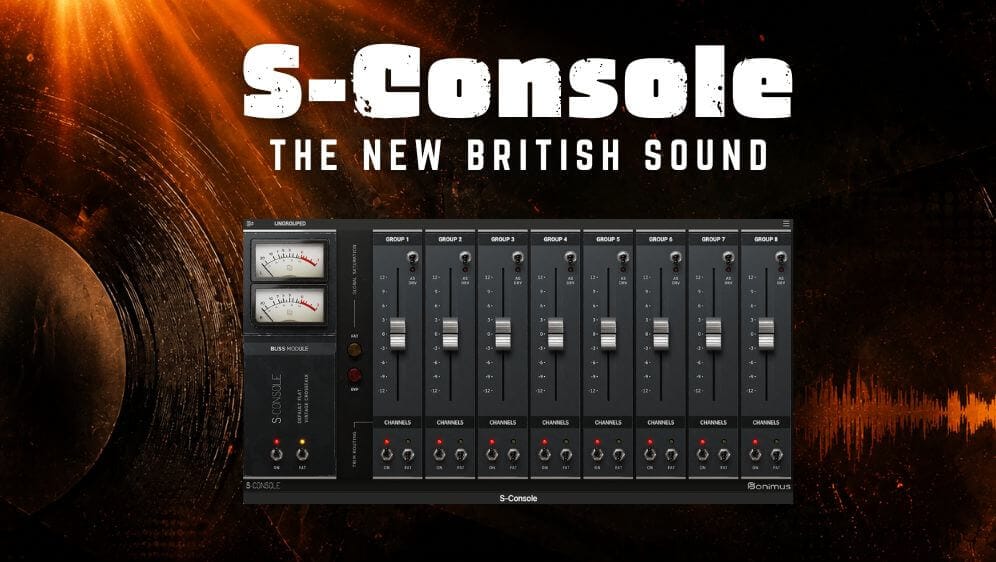
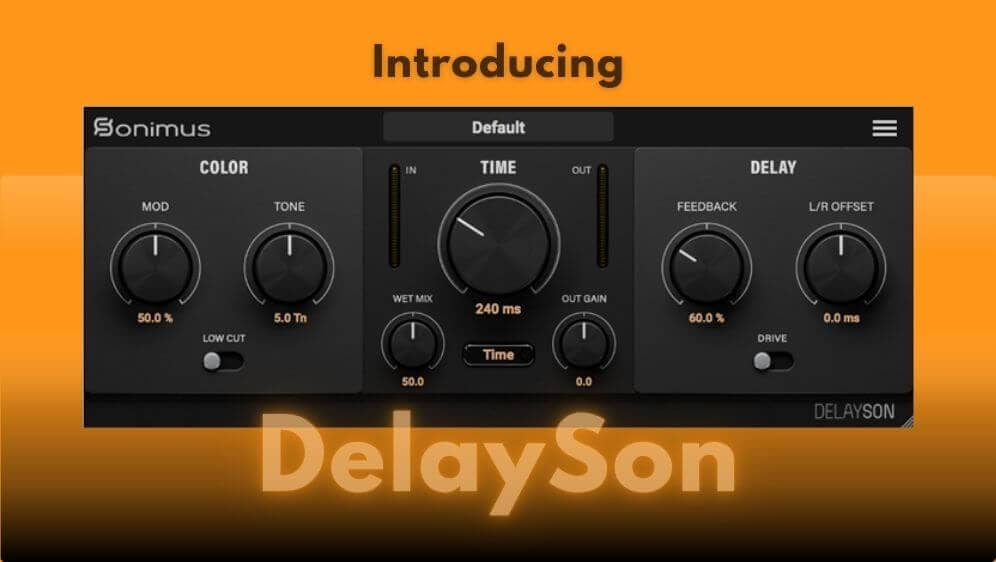
Here at Sonimus we want to give you themost versatile tools to process your tracks. Plug-ins like StonEQ 4K or SonEQ 2 are perfect for when you need to EQ your reverb tracks. They provide fully parametric low-mid and high-mid bands to find the right frequencies to boost or cut, and the Woow feature of SonEQ 2 can help with widening up your effect. If you are looking to have full control of your reverb in just one place, Satson CS is for you. With its 3 modules and setup versatility, this channel strip is a power house. Get the experience of processing your reverb signal through a fully featured and customizable large-format console right in your DAW. Do you use any of these plug-ins for your reverb tracks? How do you process your effects? Let us know in the comments below and don’t forget to subscribe to our newsletter to learn more about Sonimus plug-ins.


Leave A Comment
You must be logged in to post a comment.