Vocals are one of the most complicated elements to mix. They need to sit nicely with the rest of the instruments so it all sounds coherent, but at the same time they need to cut through so the message gets delivered to the audience loud and clear. On top of that, no two vocalists have the same tone or character, which makes it impossible to apply the same settings to all of them and get away with it. Nevertheless there are certain moves and techniques that can help you set the sweet spot for your vocal track quicker with minimum effort — let’s find out!
Consistency
The importance of gain staging during recording and mixing is a subject very often covered in this blog. But when it comes to getting a consistent level throughout the track, it’s paramount to make them sit right in the mix.
Professional singers are able to control their performance and interaction with the microphone so they end up getting a regular level during the recording. Back in the day, when everything was done to tape, the engineer would ride the fader during the recording to help the singer even further, but this required knowing the song in and out and being precise in the movements since there was no undo button.
Nowadays, in the digital era, tools like clip gain automation can do the same job without worrying about causing any damage to the original recording file and allowing us to get a consistent level of our vocal track in no time.
Housekeeping
Once our vocal metre is not jumping all over the place, it’s time to start cleaning the track. First, removing silences in your clips will make sure that no exogenous sound sneaks into our mix uninvited. It will also help you identify the different sections in your song and navigate quicker through the session.
Another good practice is removing mouth clicks from our vocals. They can become very obvious after we process our track and can ruin the whole song. Depending on the performer, it can be an easy task since these kinds of sounds are usually found at the beginning of sentences. But some people have very loud mouth clicks which require further editing, and in many cases it would be worth using noise removal software.
The last thing to consider is whether or not we should get rid of breaths from our vocal recordings. Although in most cases cleaning our track from this type of sounds would be a good practice, this decision might depend on the artist’s taste, what section of the song we are working on or the genre and style of our track, since removing breaths completely can make our vocals sound too perfect or almost inhuman. In any case, controlling the volume of these sounds through fades, gain or volume automation will definitely improve the sound of our vocals.
Cleaning The Mud
There are no magical frequencies to make every voice sound great, but there are definitely some frequency areas that can be carved out from our track to make them cleaner and clearer.
Using high-pass filters is a must when EQing vocals. This practice will make sure that no rumble and unwanted low frequency energy gets to our mix. While every sound source has information in the high frequency ranges, the low end is the realm of instruments like basses or drums. If you want to know at what frequency exactly you should filter your vocal track, just apply the opposite filter and bring down the frequency knob until no important information can be heard. A good starting point will be around 80 Hz, but depending on the timbre and type of vocalist it can go up to 100 or even 120 Hz.
Another benefit from filtering vocals is the removal of pops. It’s an easy and effective way to remove plosive sounds and get more control out of your track
Another frequency range that it is good to look at when shaping your vocals is the mids. Values between 500 Hz to 700 or 800 Hz hold nasal and roomy sounds that can help your vocals sound clearer when carved out.
Dynamic Control
Compressing vocals is about control and colour. While we should have obtained consistent levels of the overall track through gain staging, compressors will help us control peaks and loud sections of our vocals, bring them forward and provide presence and weight. We can do this in a couple of steps with different compressor settings: first with one using fast attack to catch the higher peaks and then a second compressor with slower attack and perhaps some saturation to add character.
De-essers and dynamic EQs are also great tools to control our vocals. Their settings might change from song to song depending on the lyrics but they will also control specific frequencies, making sure the vocals are more pleasant to hear and easier to mix.
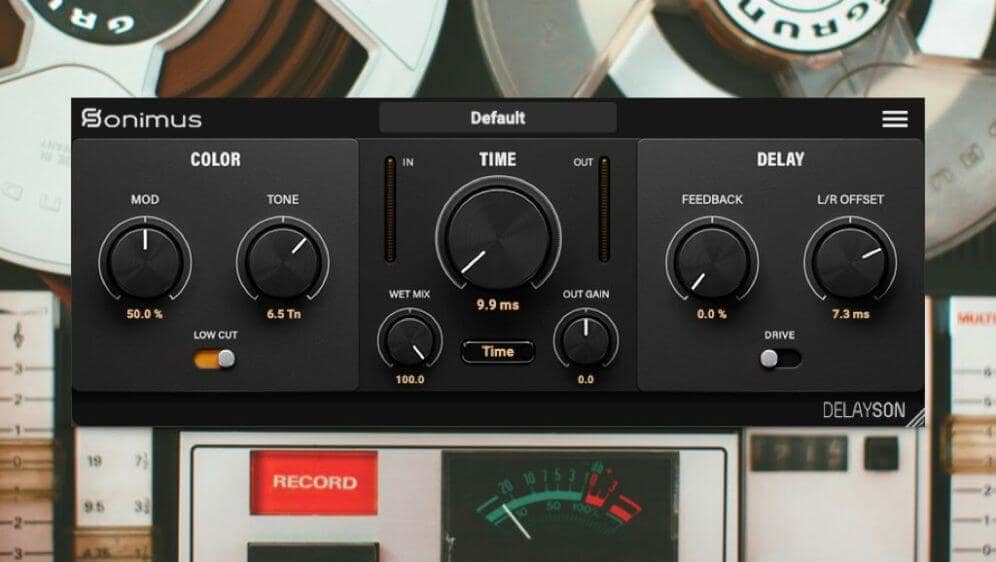
Reverbs and Delays
Reverb and delay effects create the vibe of the song. Using effects in auxiliary tracks and sending elements to them can be very helpful to find the right ambient for the song and will make it easier to control their level in the mix.
By using post-fader sends to all your favourite reverbs and delays their volume will stay relative to each source track. You can even send delays to reverbs to create more intricate and ambient sounds within your song.
Having said that, sometimes it can be useful to use pre-fader sends to have independent wet and dry versions of our vocals, or even add some reverb effect as an insert in our track for creating a specific sound or ambient effect.
Parallel Processing
If you feel your vocals are not yet cutting through or are too thin, this technique will definitely help you achieve it. Parallel processing consists of creating a copy of our vocal track, applying heavy processing to it like overcompression, saturation or distortion and then blend this copy with the original. This will thicken your vocals and give them more presence. I suggest starting with the parallel processed fader down and bringing it up slowly until we get the weight we were missing. Once you find the sweet spot, you can group both tracks or create a VCA to make sure this blend is locked.
Ride The Fader
Finally, if we want to make sure that your vocals stay on top of the mix at all times, you should ride the fader. This technique consists of automating the volume of your vocals throughout the length of the song. This way you will be able to emphasise different sections, words or phrases and add dynamic value to the song. Even if you end up moving the fader by only one or two decibels, the difference on how the vocals sit in your mix will be noticeable.
I hope these recommendations give you a starting point and help you mix your vocals more efficiently. If you want more tips on how to EQ your vocals, in a recent video Sonimus showcased SonEQ 2, explaining how it can be used to process vocals in a pop track.
If you want to get more tips like these in your inbox and also get all the news from Sonimus plug-ins don’t forget to subscribe to our newsletter.
Happy mixing.


Leave A Comment
You must be logged in to post a comment.