A guide to using Master Grouping in Sonimus’ plugins.
Grouping is one of many great features available in all of our console emulation plugins. It allows you to control all instances of your console from one single place — add drive, adjust the volume or even bypass the saturation all together. In this article, we want to show you how to effectively use groups to unleash all the benefits that our console emulation plugins can offer your mixing sessions.
Setting up
Once we have added our chosen console emulation to all the tracks and busses in our session, it’s time to engage the Master Grouping. For our Master Buss instance, we need to click on the Options menu and engage the grouping. Now we should be able to see the group’s fader panel open in our Master Buss.

Now we can go through the rest of our console emulation instances (both channels and busses) and assign them to one of our groups. To keep our session organised, we can also rename the group to something meaningful by right-clicking on the group name in our Master Buss. This way it will be easier to remember down the line what elements in the mix are assigned to each group.
We recommend keeping one group for your Master Buss alone. This way you will have finer control over the whole mix, level and saturation.
Finally, we can choose whether the group faders in our master buss trim the channel, busses or both instances assigned to each group with the Trim Routing feature. These options provide different benefits to your mixing session, and although they can be changed at any time, we recommend planning your session so you can use the master grouping to refine your mix most efficiently.
It’s important to remember to use only one Master Grouping for each project. Using more than one instance to operate the groups may cause conflicts within the plugin.
Take Control of Your Mix
Now that everything is set up, we can control our mix from our Master Buss. The group faders work similarly to VCAs — they trim the volume or drive in an additive or subtractive way over the whole instances of grouped tracks. They can be used for fine volume adjustments, or to apply/remove distortion when the As Drive switch is engaged. These adjustments will only be applied to the type of track specified in the Trim Routing section.
In a very simple session, you would have channel instances across your tracks and one Master Buss in your master channel. In this case, the Trim Routing should be applied to channels other than your Master Group, which will be routed to the Buss instance. This way each group fader will trim the volume or drive of the grouped tracks and your master group fader will control the Master Buss.
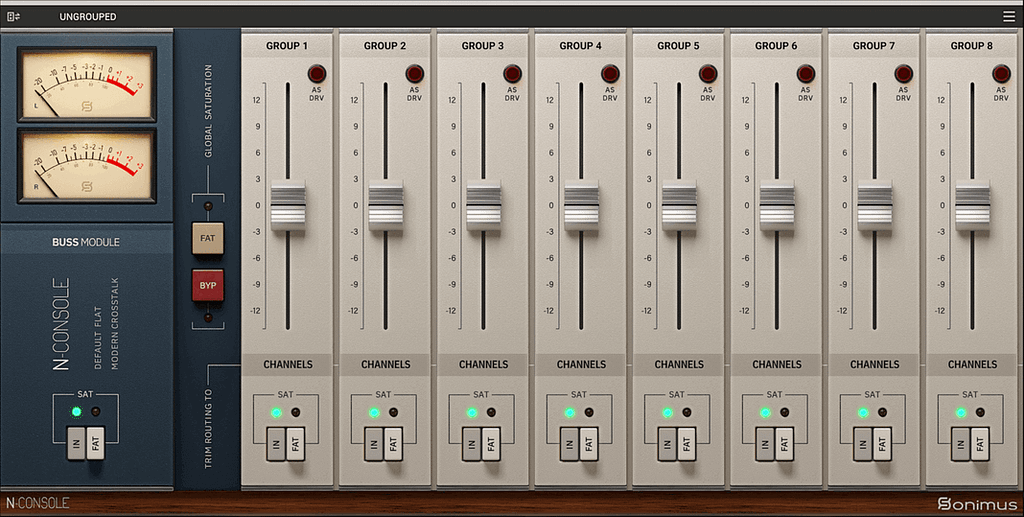
Group’s faders routed to Channels except for the Master Group routed to Buss.
On the other hand, if you like to mix into summing busses, then we recommend setting up the Trim Routing to the Busses instances, so only these types of instances will be affected by the group fader.
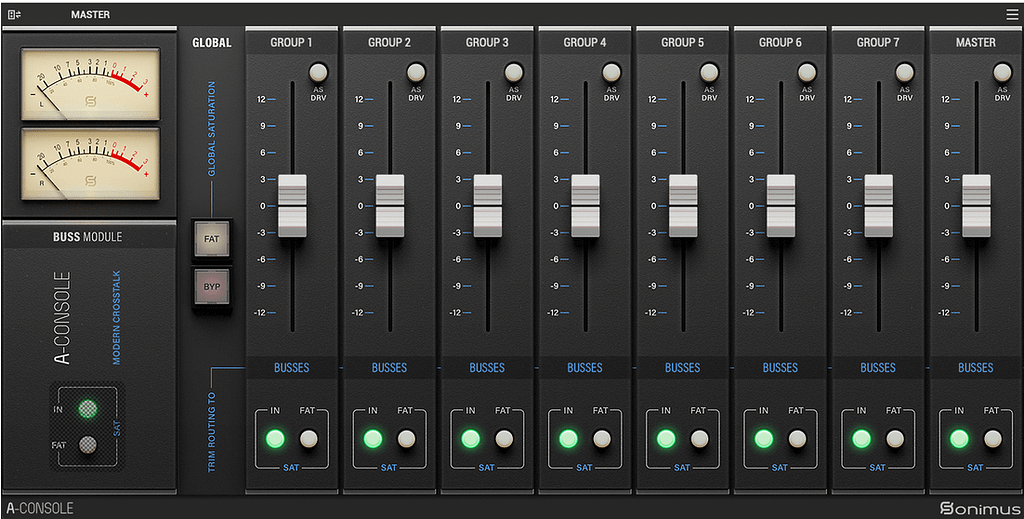
All of our group’s faders are routed to Busses.
Something to consider is that the Saturation Bypass switch and FAT mode switch on each group will affect all our grouped tracks, busses and channels, regardless of the Routing Trim selection.
Finally, the global controls on the Master Grouping panel allow bypassing or engaging the FAT mode and saturation on all groups. Nevertheless, when the Saturation Bypass is engaged, the volume adjustment made to the group’s faders will still apply, helping to compare the sound of our mix with and without the plugins, but keeping any gain staging and volume adjustments made.
Now that you know all about grouping within Sonimus’ emulation plugins, you can benefit from the extra level of control you’ll have over your mixing sessions.
Do you want to learn more about our console emulations? Subscribe to our newsletter to learn more about Sonimus’ products and get the latest updates and releases.


Leave A Comment
You must be logged in to post a comment.