In every production, above any other instrument, vocals deserve the most attention. They’re in charge of delivering the message of the song and help us to emotionally connect with the artist. That’s why we should spend time processing them correctly so they can sound their best.
Compression is an essential component in making vocals sound crisp and clear, but also in making them sit correctly within the song. One technique that is often applied during mixing is multi-compression, which consists of using different compressors to process the vocals to obtain a more consistent performance. It can also be used to add texture, attitude and weight in the context of the song. In this article we’ll show you a couple of ways of using multi-compression on vocals and show you how to apply them using Sonimus plug-ins — let’s dive in!
Compression in Series
The first method is to use two different compressors in series in your processing chain to control your vocals. This method is a way to get the vocals sounding in-the-pocket (when the music is rhythmically in a groove) and make them easier to mix. Just be careful not to over-compress the vocals in any of the stages.
The first compressor is used to catch the peaks of the performance. Depending on how dynamic the vocals are, the ratio of the compressor may vary. The important bit is setting the threshold just so it only catches the louder sections of the performance with a fast attack. This way the compressor will even out those parts and make them sound more consistent.
The second compressor in the chain will focus on adding weight and bringing up the quieter parts of the vocals. To do this, the threshold needs to be brought down so the gain reduction is constantly working. Since we don’t want to choke the vocals, we will use a low ratio, slow attack and medium release times to bring up the sustain and body of the vocals.
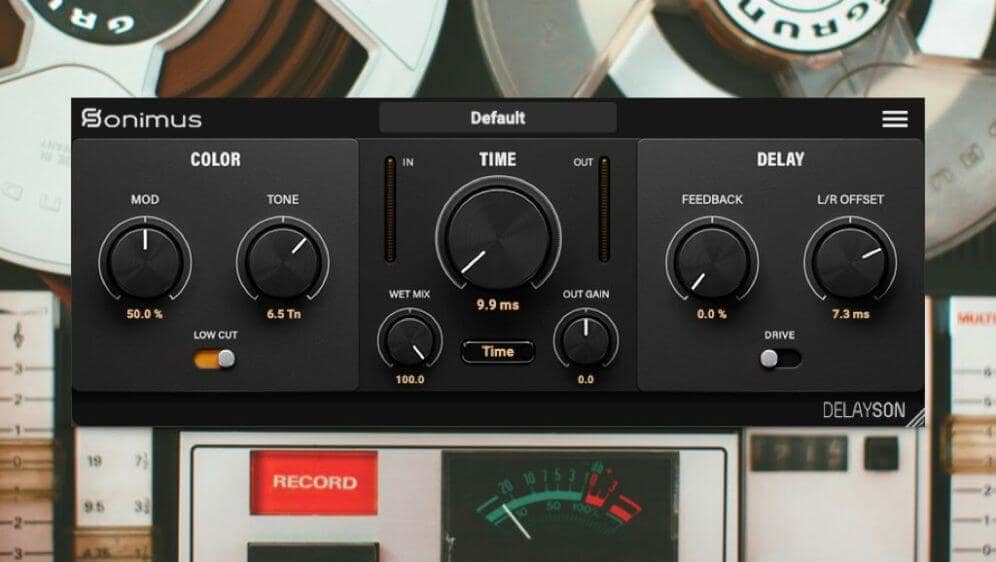
Satson CS is a great option to create this kind of linear processing thanks to its modularity. The Satson CS Compressor module is an incredibly versatile tool, and an excellent choice for both of the compression steps aforementioned. Although it’s inspired by the famous G-bus compressor, the Satson CS Compressor module was designed to fulfil any sonic needs. Two modules can be easily set up to get the perfect balance of control and glue for your vocals.
Compression in Parallel
We have talked about parallel compression previously on the blog. This type of processing adds presence and weight to any vocal performance, but we can also use compressors in parallel to achieve texture.
In this case, the best way is to follow Michael Brauer’s approach. He uses compressors as a sonic pallet to obtain the tone and character he is after. To achieve this, Brauer sets up compressors in their own Aux tracks and sends the vocals to each one of them. He uses different types of compressors for different responses, saturations and sounds. Then, he blends the compressed signals using the track’s faders until he gets the right sound for the vocals. The key in this process is to not over-compress the signal. Instead, each compressor should give no more than 3dB of gain reduction. Although there is no golden setup, using a slow attack, medium release and a moderate ratio is a good starting point in getting the compressors set up.
By combining Satson CS compressor module and Tuco, you can get plenty of character for your vocals. You can even set different Aux tracks with Tuco with its different compressor and limiter modes and blend them together to add more attitude to your vocals.
This process doesn’t replace your regular vocal processing chain since it’s more about tone than compression itself. You can even blend the original signal with the compressed ones to achieve even more texture.
Do you use multi-compressor setups for your vocals? How do you use them? Is Tuco or Satson Compressor in your bag of tools? Let us know in the comments and don’t forget to subscribe to our newsletter to find more tips and tutorials on how to use Sonimus plugins.


That’s a really nice way to track and mix vocals. I have never tried to do parallel compression with a Fairchild 670. I should try that as well.
I typically track with an outboard 1176 style compressor with 4:1 ratio and 3-5dB of gr. Then in the mix I’ll add an opto style compressor on the verse bus hitting 2-4dB of gr, and then a final compressor on the vox bus hitting about 1dB of gr. If I do a parallel setup, I use an aux channel with the Fairchild 670 slammed and then blended in with the fader so the heft is added but it doesn’t take over the main vocals.
That’s a really nice way to track and mix vocals. I have never tried to do parallel compression with a Fairchild 670. I should try that as well.