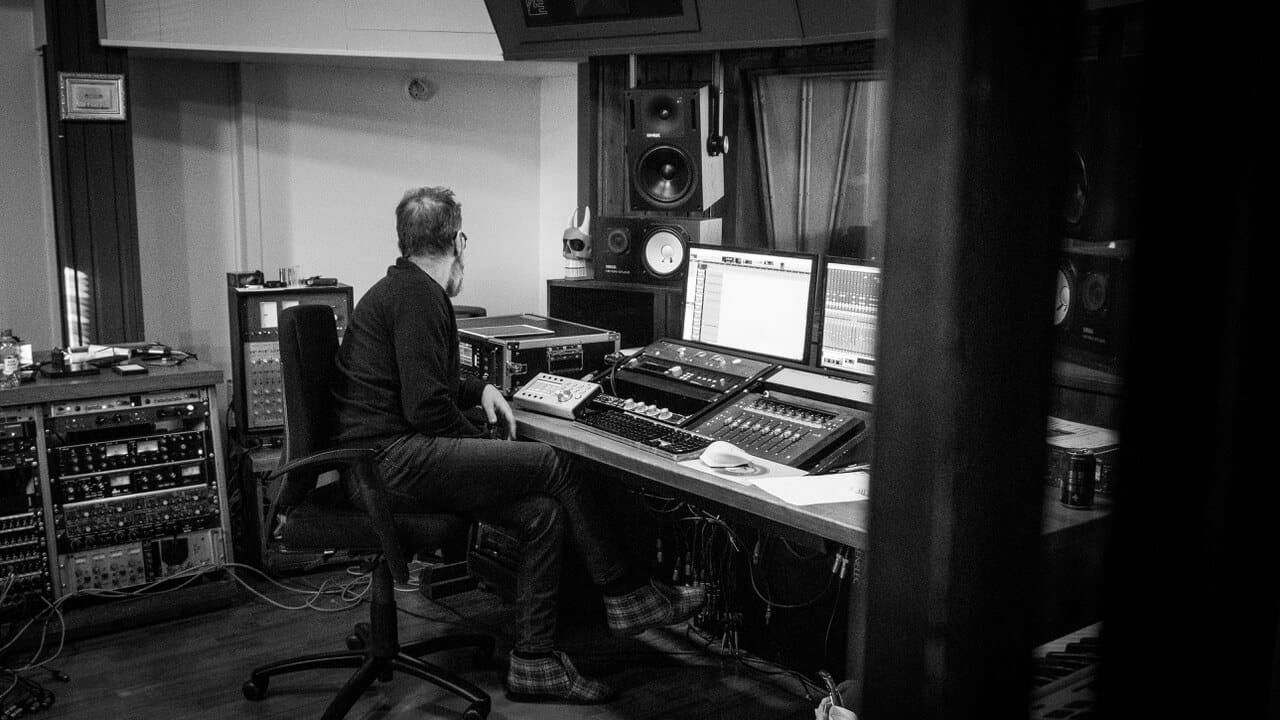
Emulating the sound of an analog console is a very complicated process. It takes a lot of work to turn every behavior of the electronic components and their tolerance/variations over time into mathematical equations that the computer can use to process your audio signal.
The audio software market has increasingly implemented solutions that emulate classic hardware. Software that generates an increasingly warm, open, and three-dimensional sound and pleasant analog vibe that so many of us enjoy. This is very apparent when compared to the “coldness” or sterility of a fully digital recording/mix…
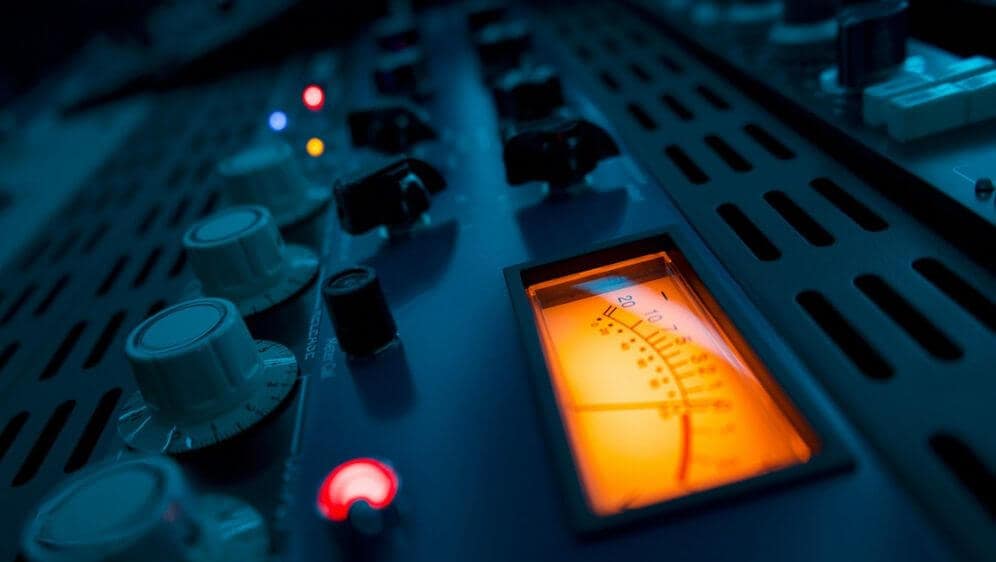
Among emulations currently on the market, I have grown particularly fond of Sonimus’s Britson, and as someone extremely familiar with analog consoles, I have benefitted from both the workflow and sound it offers. With this console-like workflow, I can easily maintain an optimal gain stage, while at the same time add the character, color/warmth, and three-dimensionality characteristic of console saturation. And while the hardware this plugin is emulating it is known for smoothing out the top end, the total harmonic distortion ends up adding a touch of air, opening things up at the same time.
Because of this, I have incorporated Britson through out my personal recording and mixing templates and today I’m going to share with you the 5 steps that I follow when mixing with Britson.
1. User Manual? What is that?
I have experienced how important it is to carefully read the user manual and follow the guidelines indicated by the manufacturer. Who knows better than them how their products work?
From knowing which hardware is being emulated, to what the optimal input level is for everything to work properly. This information along with definitions, controls, tips, guidelines, installation, signal flow charts, Q&A, etc, allows us to work more efficiently and avoid the trial and error mode. And as engineers/producers, time is the most valuable thing we have.
2. Prepare the analog emulation environment
During my rough mix phase, a Britson Channel is placed onto each of the tracks as my first insert, and both the VU meter and the filters are set to POST to ensure Britson’s output level is correct and isn’t being influenced by any unnecessary information I’m later going to filter anyways. Similarly, on each and every bus, Britson Buss is the first insert, set to Flat mode. With both Britson Channel and Britson Buss, I have enabled the saturation section to subtly enhance each track.
Lately, I’ve been formatting my mixes with the Brauerizing (Michael Brauer) set up, with 4 compression busses (A, B, C, and D). On each of these as well, there is a Britson Buss inserted as first insert, again in Flat mode.
Finally, on the master bus, I insert the last Britson Buss in Master Loudness mode, since I like to start by enhancing the rough mix with a slight touch of air in the high end and some warmth in the low end/low mids. I also activate the crosstalk option to add an additional sensation of depth and three-dimensionality, occasionally switching crosstalk mode to the Vintage setting to make the effect more evident.
Tip: If you have favorite settings you typically use, save it to a template. This way you only need to import the tracks to the project and fine-tune things, allowing you to more quickly move to the next point (setting your levels). Learn – How to create a custom template with Sonimus plugins
3. Setting Your Levels (Gainstaging)
Once the DAW is set up to take advantage of Britson’s console-like workflow, the next step is to set the levels for each of the tracks and busses to sit at a level around 0 VU meter (-18 dBFS), which Sonimus recommends as a starting point. Although there are other dBFS standards, I think that -18 dBFS is generally the most beneficial, since not only are most VUs calibrated to -18dBFS but most hardware and software as well.
With the gain staging addressed I use the Britson Channel fader on each of the tracks to line things up near 0 VU as mentioned earlier. I then use the fader of each DAW channel so that the sum of all channels feeding the bus also sits around 0 VU
After that, I start setting the levels according to the tune’s criteria. For example, if I want a shaker to sit in the background of the mix, I make sure the shaker level being sent to its corresponding bus represents this by being lower.
The next step is making sure that each of the Britson Buss instances on the 4 Brauerizing busses have an average input level that does not exceed 0 VU.
Tip: Check the user manual of each of the 4 compressors you’re using on your Brauerizing busses as well, to make sure the 0 VU input is an optimal level here as well. Insert a gain plugin after Britson Buss and before the compressor to adjust the level for compressors that do not have an input gain knob. If necessary, adjust the fader of the 4 Brauerizing busses so that the Britson Buss instance inserted on the mix/master bus averages somewhere around 0 VU.
4. Add Saturation/Color
This step I only apply in those cases where I need to enhance the harmonics of a track or give an analog-like characteristic to a buss or the entire mix.
The amount of saturation to add depends on the taste of the mixing engineer, the style of the song, or the type of track it’s being applied to. Personally I like subtlety. Enhancing the track just enough so that the effect is missed when removed, but isn’t overly blatant when active. Keep in mind that since this option generates harmonics emphasizing the low-end, this will reduce overall headroom, so adding a compressor in tandem is normally a good idea when using this technique. This process is great both for individual tracks, as well as whole busses.
Both Britson Channel and Britson Buss have the FAT option (total harmonic distortion centered on the lower frequencies) and for additional color and tone shaping, Britson Buss has bright and loudness modes. Whether I need to fatten a bass or a synthesizer… add some crunch to a snare or subtly distort the lead vocals… or just add some natural compression to a bus, I use the FAT option. A lot of the time I’ll accomplish this by inserting a new instance of Britson Channel onto the corresponding channel solely to drive for saturation (keeping the first instance subtle), or I will simply activate the FAT option on a Britson Buss instance.
To dial in the exact amount of saturation that I might be looking for, I will often activate the output gain compensation option (either with Britson Buss or a gain plugin) to make sure I’m not drastically altering my mix levels. This way I can just use the Britson fader knob as a pseudo saturation knob. I also turn on the VU meter and filters in PRE mode to measure the input signal level and remove unnecessary information/frequencies before saturation. This way, those unwanted frequencies that I’m going to be attenuating or removing aren’t being enhanced.
Tip: The Master Bright option is great for adding some air to busses such as background vocals, horns, and auxiliary percussion (shaker, tambourine, triangle, etc.). Normally I reserve this feature for my mix buss, and use it to add a bit of shimmer to the song as a whole.
5. Set and Forget
From the moment you have your gain-staging set, the levels of the busses dialed in, all your buss compression where you want it and the level of the mix bus around 0 VU in your Britson Buss, you can continue mixing as normal.
As I progress with the mix, Britson does its thing in the background, and ever since I started implementing this process I have noticed beautiful results that have greatly improved my mixes. Below you can listen to two audio files from a rough mix that I’m currently working on (called Litany) both with and without Britson, as an example the sonic difference that Britson provides
Rough Without Britson
Rough With Britson
When I deactivate every Britson instance, it is like I’m missing something. Like something is suddenly out of place. Just like how it should be when removing any processing while mixing. It sounds fantastic! It makes the music leave the cold digital environment and bring it to life. it’s the subtlety of carefully dialing Britson on multiple tracks throughout the mix which allows us to reach that sonic nirvana.
Can you hear the difference? How do you use Britson? Do you follow any of these steps on your own workflow? Share in the comments below how you get the analog vibe going in your mixes.


It is always good to discover and learn new things. I don’t have this plugin, it seems interesting
Thanks for the 5 steps. In the sound examples with Britson, the high frequencies shine and the lows are warmer and more pleasant ;)
Thank you so much for the article “5 steps for mixing with Briston”, I just realized this plugin does a lot more than I expected. The dimension added by Britson in your examples is just amazing !!!.